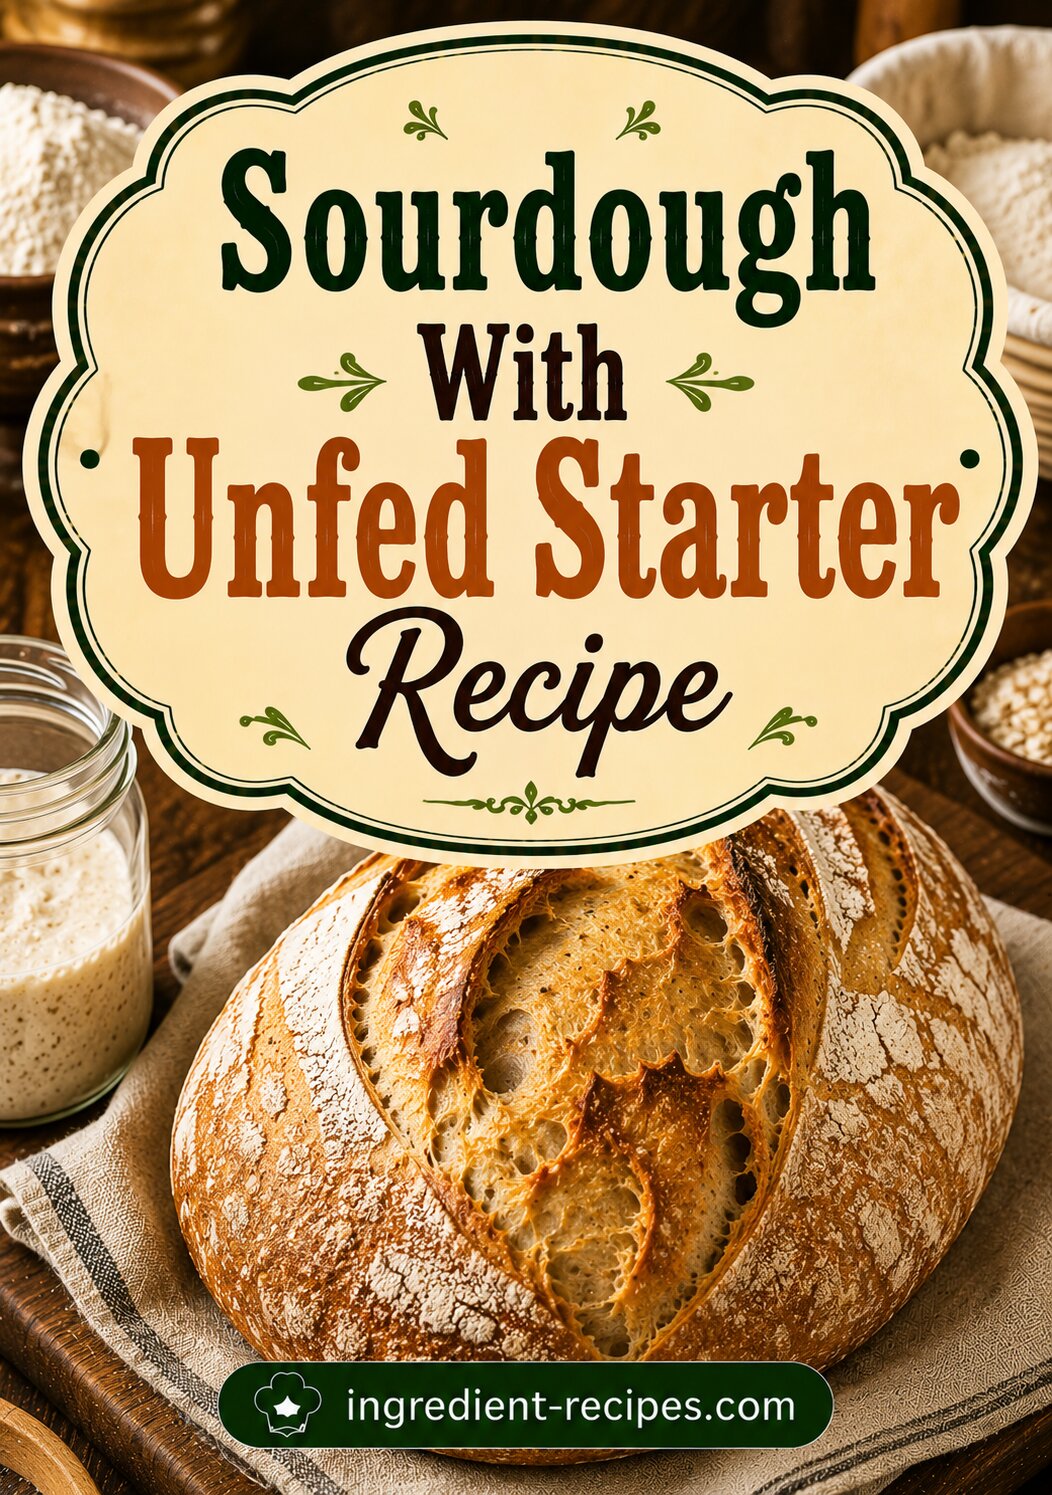
Many home bakers believe they need a freshly fed, bubbly sourdough starter to make excellent bread. While an active starter is ideal for naturally leavened sourdough, you can also make delicious bread using an unfed starter, often called sourdough discard. An unfed starter is simply a sourdough culture that has not been refreshed recently. It still contains beneficial wild yeast and lactic acid bacteria, although its leavening power is lower than that of a freshly fed starter.
When using an unfed starter as the primary leavening agent, the dough usually requires a longer fermentation period to rise properly. Many bakers also choose to add a small amount of instant yeast to ensure a reliable rise while still enjoying the tangy flavor that sourdough discard provides. This approach creates a loaf with a chewy crumb, crisp crust, and complex flavor without waiting for the starter to reach peak activity.
Making sourdough with an unfed starter is an excellent way to reduce food waste and use the discard that accumulates during regular starter maintenance. Whether you are an experienced baker or just beginning your sourdough journey, this recipe offers an easy way to produce bakery-quality bread using ingredients you already have.
Why You’ll Love This Recipe
- Great way to use sourdough discard
- Reduces food waste
- Crispy artisan crust
- Soft, chewy interior
- Rich sourdough flavor
- Simple pantry ingredients
- Beginner friendly
- Suitable for Dutch oven baking
Sourdough With Unfed Starter Recipe Overview
| Detail | Information |
|---|---|
| Cuisine | Artisan Bread |
| Course | Bread |
| Preparation Time | 20 Minutes |
| Rising Time | 6 to 10 Hours |
| Baking Time | 45 Minutes |
| Total Time | About 8 Hours |
| Servings | 1 Large Loaf |
| Difficulty | Moderate |
Sourdough With Unfed Starter Recipe Ingredients
Dough
- 500 grams bread flour
- 150 grams unfed sourdough starter (discard)
- 325 grams warm water
- 10 grams fine sea salt
- 1 teaspoon instant yeast (optional but recommended for reliable rise)
For Baking
- Rice flour or bread flour for dusting
- Parchment paper
Equipment Needed
- Large mixing bowl
- Dough scraper
- Kitchen scale
- Banneton basket or bowl lined with a towel
- Dutch oven with lid
- Sharp bread lame or razor blade
- Cooling rack
Step-by-Step Instructions
Step 1: Mix the Dough
In a large mixing bowl, combine the warm water and unfed sourdough starter until mostly dissolved.
If using instant yeast, stir it into the mixture.
Add the bread flour and mix until a shaggy dough forms.
Let the dough rest for 20 to 30 minutes. This resting period, known as the autolyse, helps the flour absorb the water and improves gluten development.
Step 2: Add Salt
Sprinkle the salt over the dough.
Mix thoroughly until the salt is evenly incorporated.
The dough will become smoother as you continue mixing.
Step 3: Stretch and Fold
Instead of kneading, perform stretch-and-folds.
Lift one side of the dough, stretch it gently, and fold it over the center.
Rotate the bowl and repeat on all four sides.
Cover the bowl and rest for 30 minutes.
Repeat this process three to four times during the first two hours.
Step 4: Bulk Fermentation
Cover the bowl with a damp towel or plastic wrap.
Allow the dough to rise in a warm place.
If using instant yeast, the dough usually takes about 4 to 6 hours.
If relying only on the unfed starter, fermentation may require 8 to 12 hours or longer, depending on room temperature and starter strength.
The dough should increase noticeably in volume and feel airy.
Step 5: Shape the Dough
Turn the dough onto a lightly floured work surface.
Shape it into a tight round or oval loaf.
Place it seam-side up in a well-floured banneton basket or a towel-lined bowl.
Step 6: Final Proof
Cover and let the dough rise for 1 to 2 hours at room temperature, or refrigerate overnight for even better flavor.
Step 7: Preheat the Oven
Place a Dutch oven inside the oven.
Preheat to 475°F (245°C) for at least 30 minutes.
A thoroughly heated Dutch oven creates excellent oven spring and a crisp crust.
Step 8: Score the Dough
Turn the dough onto parchment paper.
Dust lightly with flour.
Use a sharp lame or razor blade to make one or more shallow cuts across the surface.
Scoring controls how the loaf expands during baking.
Step 9: Bake
Carefully lower the dough into the hot Dutch oven.
Cover with the lid.
Bake for 20 minutes.
Remove the lid.
Reduce the oven temperature to 450°F (232°C).
Continue baking for another 20 to 25 minutes until the crust becomes deep golden brown.
The internal temperature should reach approximately 205 to 210°F (96 to 99°C).
Step 10: Cool
Transfer the bread to a wire rack.
Allow it to cool completely for at least one hour before slicing.
Cooling allows the crumb to finish setting.
Baking Time Guide
| Loaf Size | Covered | Uncovered |
|---|---|---|
| Small Loaf | 18 Minutes | 18 Minutes |
| Medium Loaf | 20 Minutes | 22 Minutes |
| Large Loaf | 20 Minutes | 25 Minutes |
Nutrition Information
| Nutrient | Approximate Amount Per Slice |
|---|---|
| Calories | 150 |
| Protein | 5g |
| Carbohydrates | 30g |
| Fat | 1g |
| Fiber | 1g |
| Sodium | 190mg |
Nutrition values are approximate and depend on loaf size and slice thickness.
Understanding Unfed Sourdough Starter
| Starter Type | Best Use |
|---|---|
| Freshly Fed Starter | Naturally leavened bread |
| Unfed Starter (Discard) | Bread with longer fermentation, pancakes, waffles, crackers, muffins, biscuits |
| Refrigerated Starter | Refresh before baking naturally leavened bread |
An unfed starter contributes excellent flavor but generally has less rising power than an active starter.
Essential Tips for Success
Weigh Ingredients
A digital kitchen scale provides more accurate results than measuring cups.
Use Bread Flour
Bread flour contains more protein than all-purpose flour, producing better gluten development and a chewier loaf.
Don’t Rush Fermentation
Long fermentation improves flavor and texture.
Keep the Dough Warm
An ideal fermentation temperature is around 75 to 78°F (24 to 26°C).
Preheat the Dutch Oven
A hot baking vessel creates steam that helps develop a crisp crust.
Cool Completely
Slicing warm bread may result in a gummy crumb.
Flavor Variations
Whole Wheat Sourdough
Replace up to one-third of the bread flour with whole wheat flour.
Rosemary Garlic
Mix chopped rosemary and roasted garlic into the dough during the first fold.
Cheddar Jalapeño
Fold shredded cheddar cheese and diced jalapeños into the dough before bulk fermentation.
Everything Bagel
Sprinkle everything bagel seasoning over the loaf before baking.
Seeded Sourdough
Add sunflower seeds, pumpkin seeds, sesame seeds, or flaxseeds to the dough.
Olive Herb
Mix chopped olives, thyme, and oregano into the dough for Mediterranean flavor.
Serving Suggestions
Enjoy fresh sourdough with:
- Salted butter
- Olive oil and balsamic vinegar
- Avocado
- Scrambled eggs
- Soup
- Chili
- Cheese boards
- Sandwiches
- Toast with jam
- Garlic butter
Storage
Room Temperature
Store the loaf in a paper bag or bread box for up to 3 days.
Refrigerator
Refrigeration is generally not recommended because it speeds up staling.
Freezer
Slice the loaf before freezing.
Store in a freezer-safe bag for up to 3 months.
Toast slices directly from frozen.
Common Mistakes to Avoid
Using Very Cold Water
Cold water slows fermentation considerably.
Adding Too Much Flour
Sticky dough is normal and often produces a lighter crumb.
Skipping Stretch and Folds
These folds strengthen the gluten without intensive kneading.
Baking Too Soon
Underproofed dough produces a dense loaf with limited oven spring.
Cutting Too Early
Allow the loaf to cool fully before slicing.
Frequently Asked Questions
Can I really make bread with an unfed sourdough starter?
Yes. An unfed starter adds excellent flavor, but because it has reduced leavening strength, the dough usually requires a longer fermentation or a small amount of commercial yeast for reliable rising.
Does sourdough discard still contain yeast?
Yes. Discard still contains wild yeast and beneficial bacteria, although the yeast population is generally less active than in a freshly fed starter.
Do I need instant yeast?
No. Instant yeast is optional. It simply shortens the fermentation time and provides a more predictable rise.
Why didn’t my bread rise?
An unfed starter may be too weak to leaven the dough on its own. Longer fermentation, warmer temperatures, or adding a small amount of instant yeast can improve results.
Can I refrigerate the dough overnight?
Yes. Cold fermentation enhances flavor and often improves crust color and oven spring.
Can I freeze the baked loaf?
Absolutely. Slice the bread before freezing so you can thaw individual portions as needed.
Summary
Sourdough with an unfed starter is a practical and flavorful way to turn sourdough discard into a beautiful artisan loaf. Although an unfed starter has less leavening power than an active starter, longer fermentation or the addition of a small amount of instant yeast produces bread with a crisp crust, chewy crumb, and classic tangy flavor.
Whether you are trying to reduce food waste, simplify your baking routine, or explore new ways to use sourdough discard, this recipe offers reliable results with minimal ingredients. Serve it fresh with butter, use it for sandwiches, or toast it for breakfast to enjoy homemade sourdough that rivals your favorite bakery.
Reference Links
https://www.kingarthurbaking.com